— Nicola —
![]()
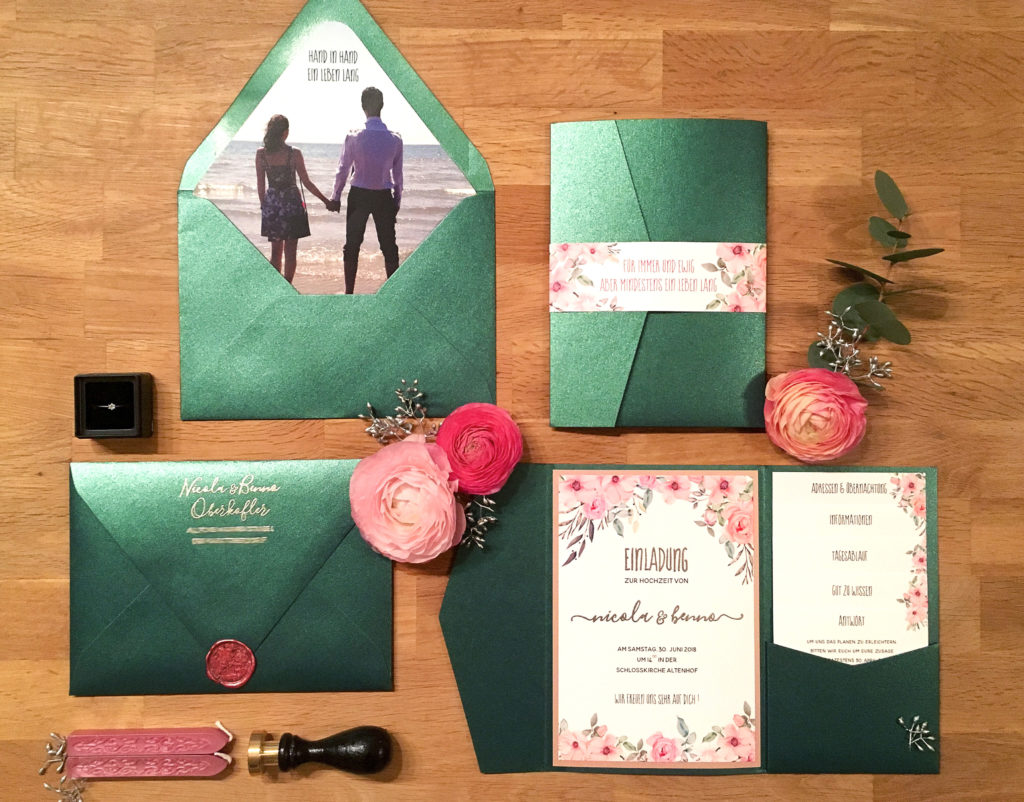
Just after our engagement I started looking on Pinterest for ideas on how to do our wedding invitations. I always knew that I wanted DIY invitations and not ready-made invitations. First I really fell in love with all of the rustic style invitations, but then we found the perfect location – an old private castle with its own church. So then I changed my opinion and started to design romantic invitations. Because my fiancé and I both really like jade green, and I fell in love with the combination of jade and soft rose, we chose those as our colors.

![]()
- Signature Pocket in Jade
- Invitation Mat, 4.75 x 6.75″ in Misty Rose
- A7 Euro Flap Envelope in Jade
- A7.5 Euro Flap Outer Envelope in Misty Rose
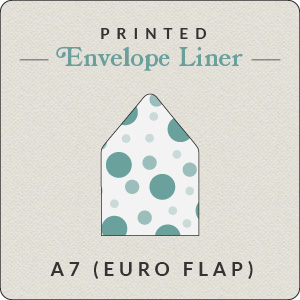
- Custom Printed A7 Envelope Liner on White
- Printed Invitation + Inserts (see ours here)
- Printed Belly Band (see ours here)
- Sealing Wax (see ours here)
- Custom Stamps from Etsy
Shop This Post
![]()
- Fonts + Floral Design Elements, (from Etsy and Creative Market)
- Address Stamp
- Wax Seal Stamp
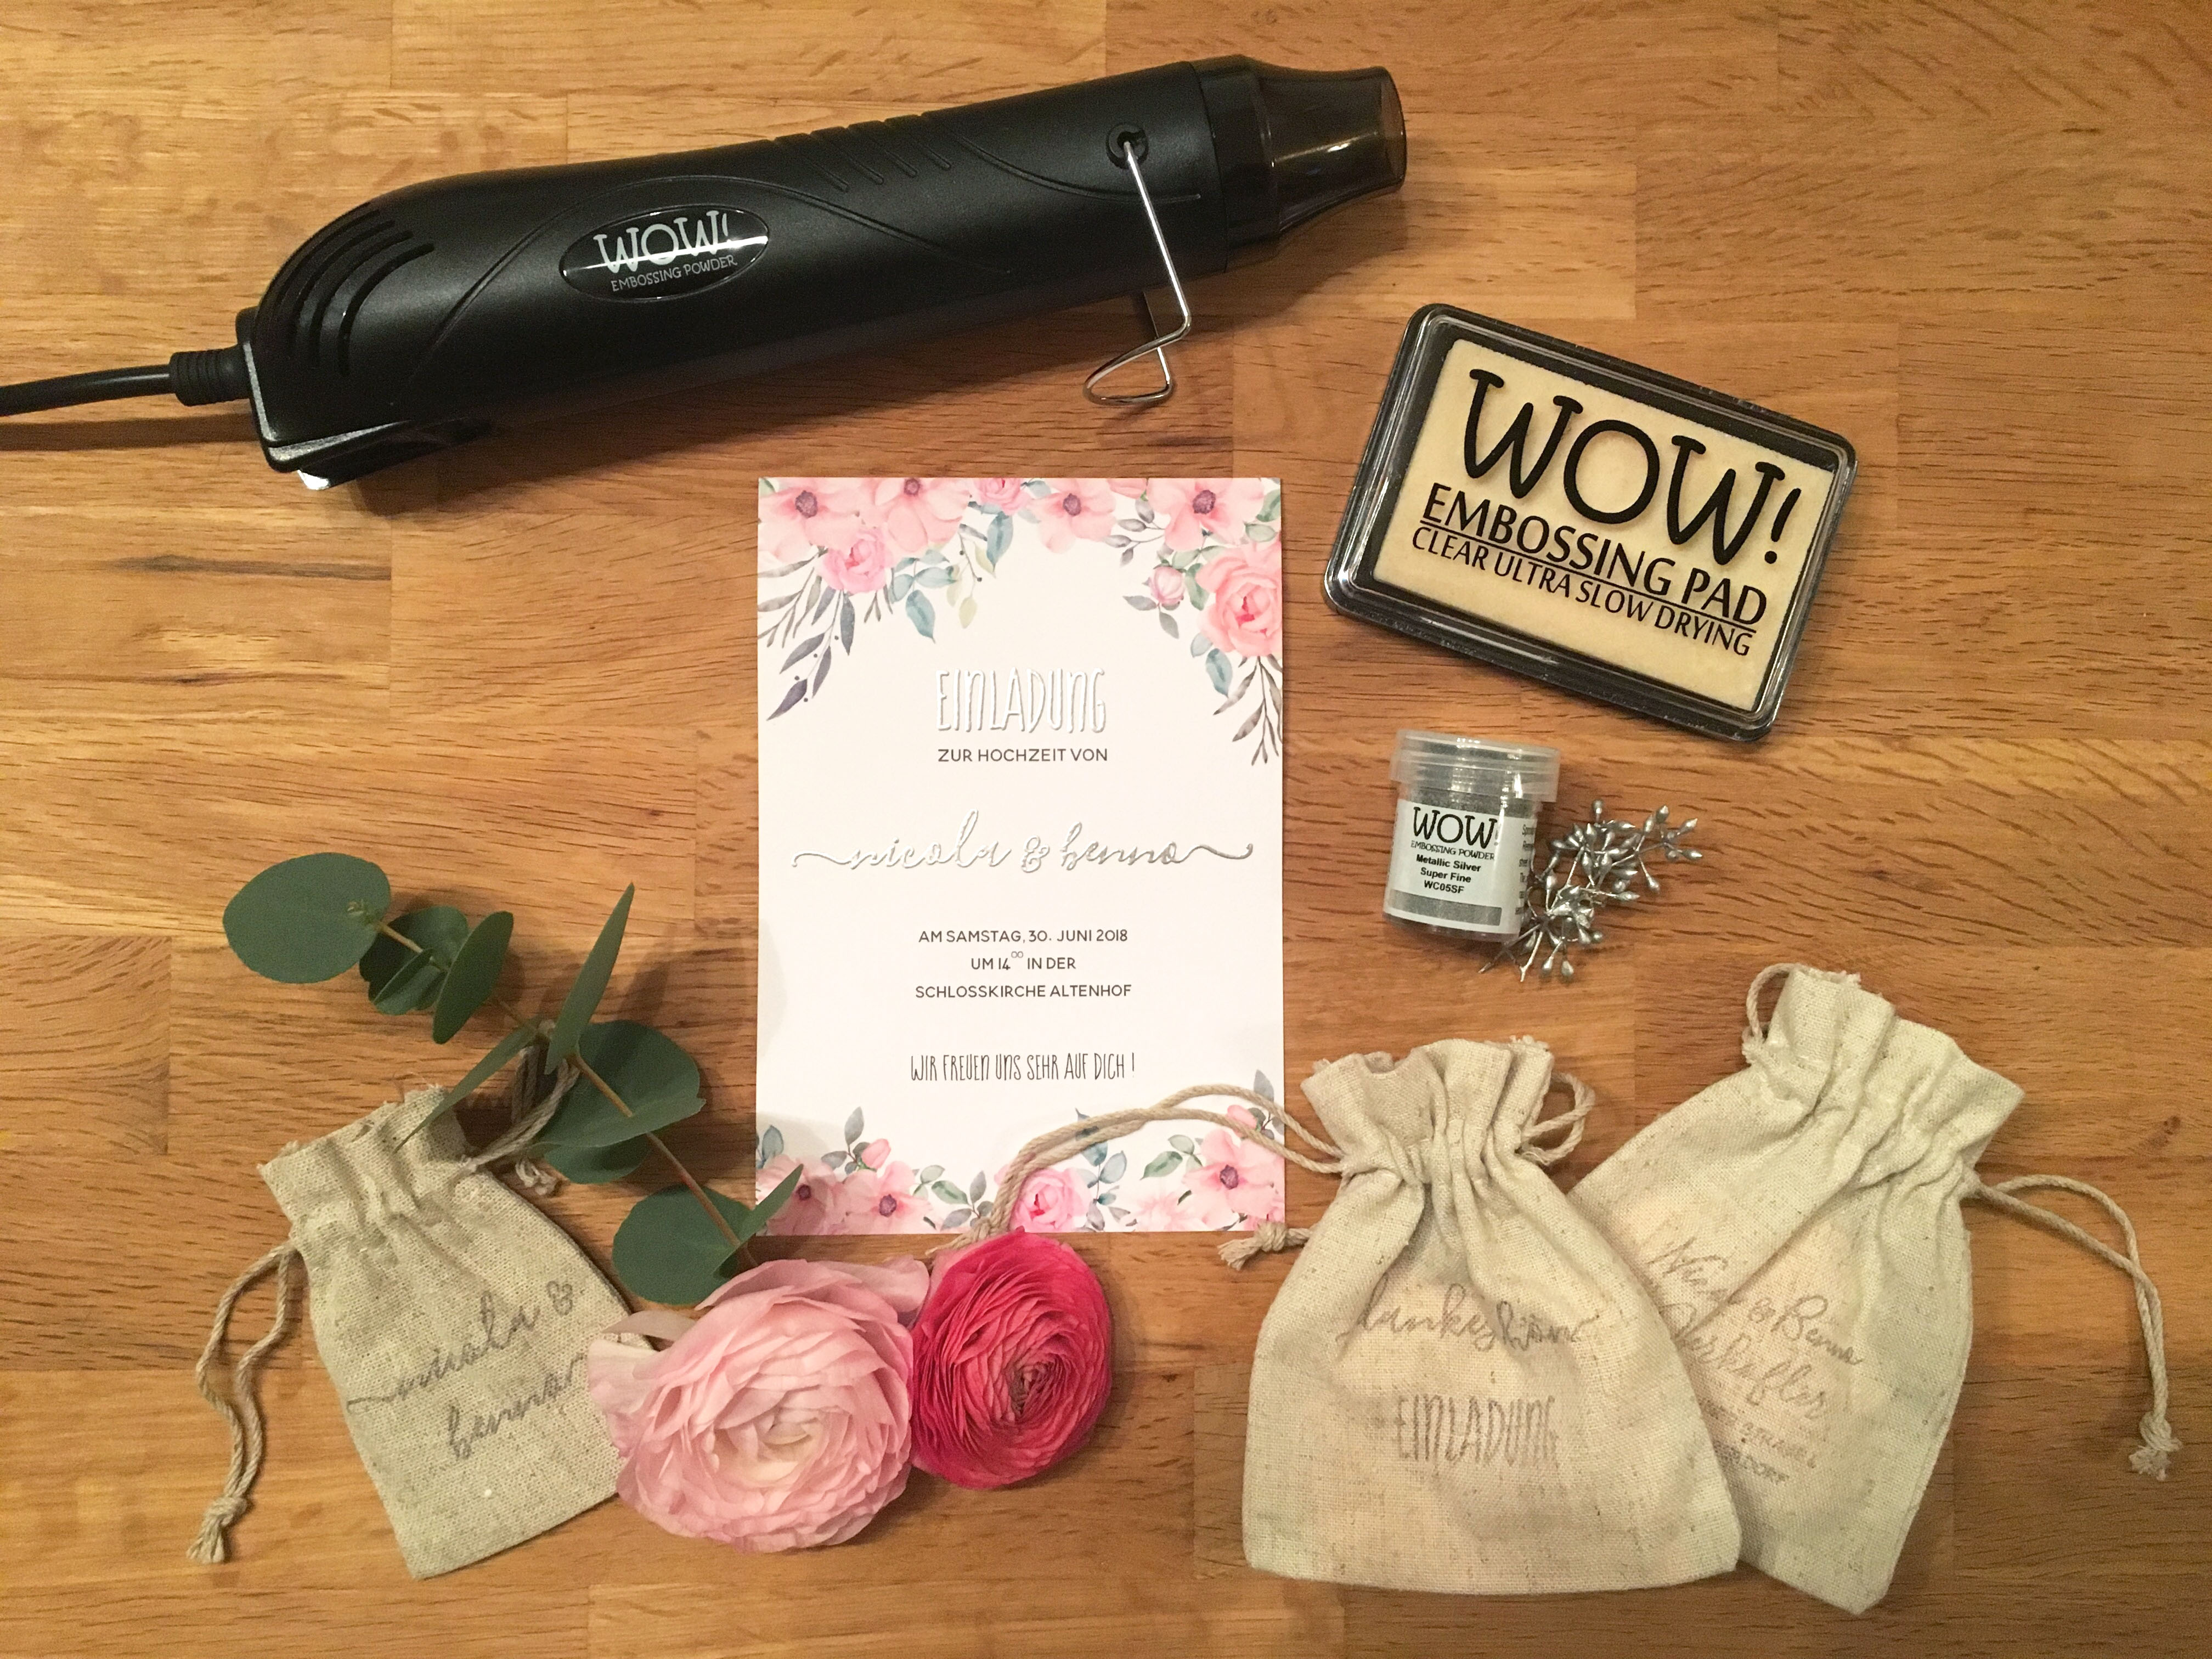
- Embossing Powder, Ink Pad, & Tool
- Permanent Glue (see ours here)
- Glue Dots (see ours here)
![]()
1.) First I ordered the A7 Signature Mock-Up Kit sample to choose from the different colors. Then I ordered all of my materials. The envelope liners were printed by Cards and Pockets and mounted by their service (totally worth the price!).
2.) The printing of our invitations were done by our local printshop in town (Germany), but without the word “invitation” and without our names on it, because I planned to emboss these three words.
3.) I started embossing by stamping one invitation after another: stamp, put powder on it, put spare powder away, blow dry the whole invitation with embossing tool.

4.) Mount invitations to the invitation mat with permanent glue stick.

5.) Then I put the five little information cards into the pocket
6.) Next step was putting the belly band around the invitation with two glue dots.

7.) Last step: sealing the envelopes with our monogramme seal stamp.

Take your time and be sure that you like your design before starting!
Congratulations, Nicola & Benno!
Thank you for sharing your DIY Story with us!
Save to Pinterest:
At Cards & Pockets, we love DIYers. We also know that one of the best ways to be inspired is to see and learn about other people’s experiences. We’re excited to share stories of our customers unique DIY invitation process.
Do you have a unique DIY story for your invitations? We would love to hear more about it. Simply visit our “My DIY Story” entry page and fill out the submission form and you could be selected for our next featured story!
Be an inspiration, share your story today!


