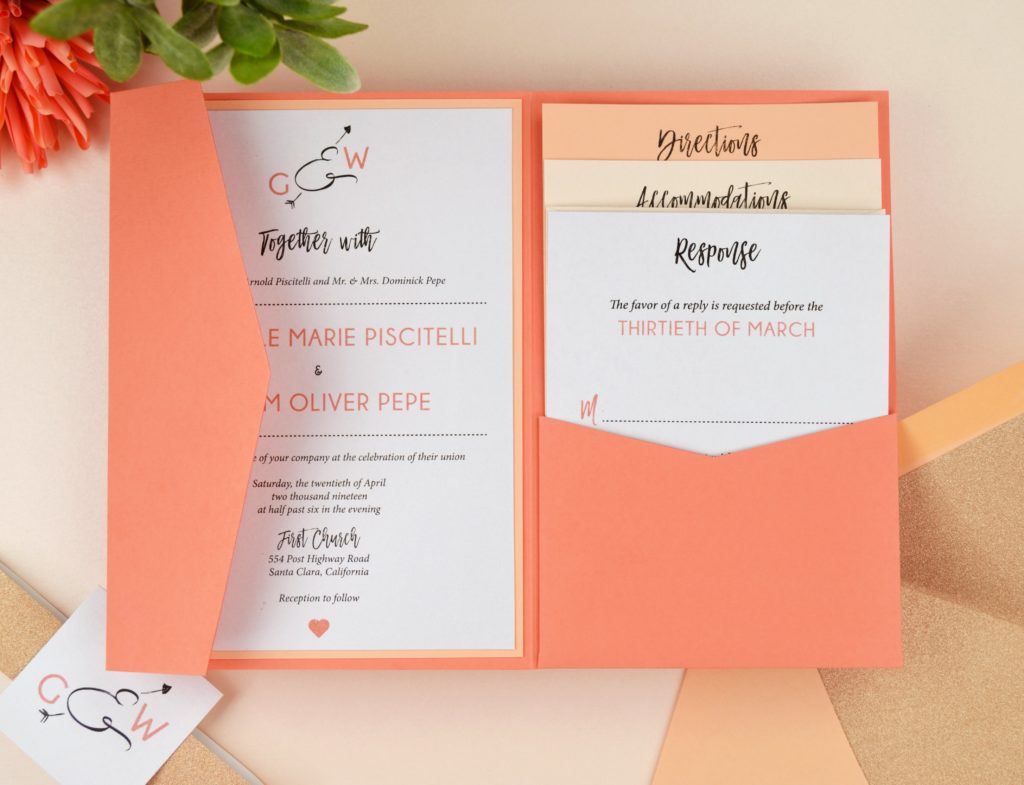
Coral is making a comeback, and we’re all for it! Aside from being Pantone’s 2019 Color of the Year, Coral is a bright, warm, and happy color that we can’t wait to see in more wedding invitations. This invitation suite combines a modern invitation design, Signature Plus pocket, and ombre colored insert cards for a fun and upbeat wedding invitation.
If Coral isn’t your color, you can still use this suite as invitation inspiration, and apply the same ombre insert idea to any other color that will coordinate with your wedding.
![]()
- Signature Plus Pocket Invitation in Coral – $.94
- Invitation Mat – (5.25 x 7.25″) in Peach – $.25
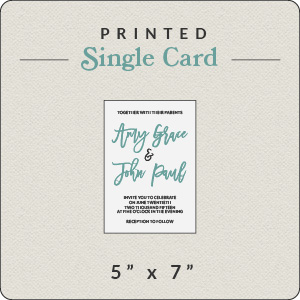
- Printed Invitation Card – (5 x 7″) on Crystal – $.52
- Printed Inserts on Peach and Soft Coral – Contact Customer Service for quote on price for printing on these colors
- Printed RSVP Card on Crystal – $.42
- A+ Envelope (Euro Flap – 5.75 x 7.75″) in Peach – $.36
- A+ Envelope Liner in Glitter Sand – $.74
- A2 Envelope (4.375 x 5.75″) in Soft Coral – $.18
- Long Thin Belly Band in Glitter Sand – $12.44 (50 pack)
- Printed Arrow Monogram on Crystal – $5.98 (20 pack)
- Tape Dispenser – $12.35
DIY this suite at $3.41 per Invitation Set (Not including printed inserts, belly band, printed monogram, or tape dispenser)
Shop This Post
1.) Start by choosing your invitation design. This can be something you design yourself, a template you purchase from somewhere, or you can take a look at our pre-designed wedding invitation templates. For this suite, you’ll want your invitation card to have a final size of 5 x 7″ and your RSVP card of 4.125 x 5.5″ to fit a Signature Plus Pocket.
2.) Print yourself at home on Crystal using 8.5 x 11″ cardstock, or have your design printed at C&P through the “Print Your Own Design” section.
 3.) To mount your invitation card to your invitation mat, apply tape near the edges on the back of the card, then center on your mat and press down firmly along all edges to secure in place.
4.) Attach your invitation/mat combo to your pocket in the same way. Apply tape to the back of the mat near the edges, center on your pocket, and press down along the edges to secure.
5.) Stack your ombre inserts in order of shortest to tallest (don’t forget to include your pre-addressed A2 RSVP envelope) and slide them into your pocket.
6.) Fold your pocket invitation closed and lay on top of your belly band so that it’s straight and centered.
7.) Fold one side over the front of the pocket, then bring the other side over to meet the first end, pulling the loose end tightly to line up with the first side. Once centered and lined up with the folded side, fold and seal with tape or a Glue Dot in the front. Make sure it is tight and secure to keep your pocket invitation closed.
8.) Apply a small line of tape or a Glue Dot to the back of your monogram, center it on top of the bellyband, and place it over the visible end of the belly band, pressing firmly so it is securely mounted.
9.) Line your A+ envelope by sliding the liner into place, and carefully folding to form a crease on the envelope liner. Fold back just the envelope, and apply a line of double-sided tape to the edges of the liner. Fold the liner back to meet the envelope, and secure in place.
10.) Carefully slide your whole invitation suite into your mailing A+envelope, (which should already be pre-addressed). Seal your envelope with Envelope Moistener with Adhesive for a secure seal and you’re done!
Now you have a gorgeous Coral ombre invitation suite that’s sure to wow your guests! Take a look at how we did it below:
Let us know if you have any questions in the comments below!
We’d love to see your Coral or ombre invitation ideas! Leave them in the comments below or post them on social media and tag @cardsandpockets or use #cardsandpockets.
Happy DIY-ing!
Save to Pinterest:


