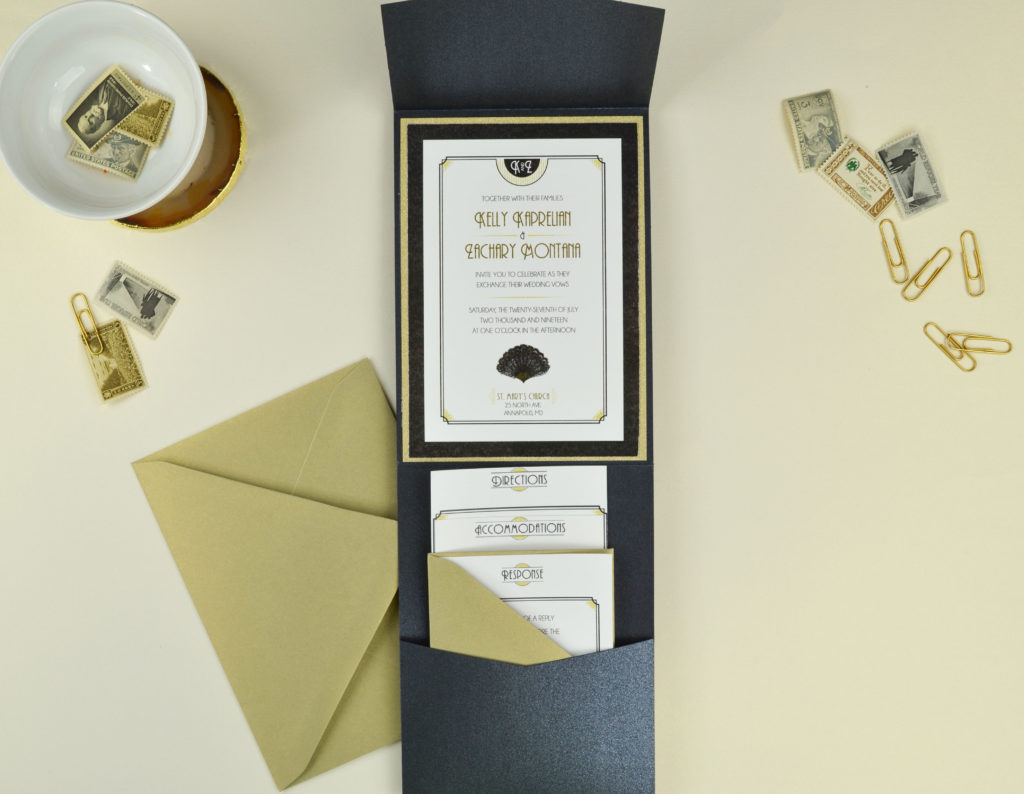
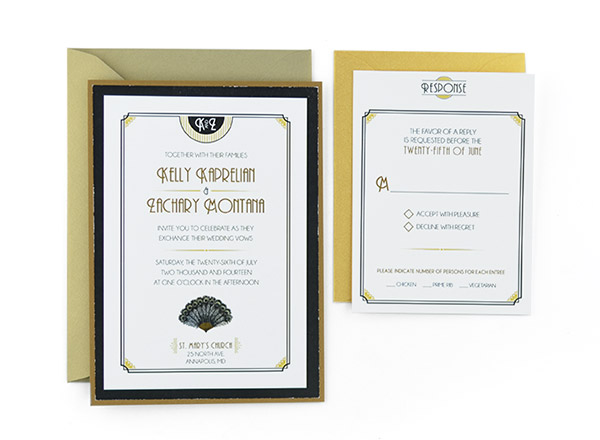
 This stunning suite is giving us major Gatsby vibes with it’s vintage look. This art deco suite is perfect if you’re looking for a rich, elegant, retro style! You can achieve this look with a simple color palette of Onyx, Snow White, and Gold Leaf. It even features one of our free invitation templates that you can edit and download to print at home, making this a super affordable option. Read on to see exactly what you need and how to assemble these glamorous invitations for your own wedding!
![]()
- Vertico Pocket in Onyx – $.80 each
- 4.75 x 6.75″ Invitation Mat in Glitter Gold – $0.35
- Printed Vertico Pocket Invitation Set on Snow White – $1.81 each
- A7 Euro Flap Envelope in Gold Leaf – $.23 each
- RSVP Euro Flap Envelope in Ultra Black – $.18 each
- GlueGlider Pro – $12.35
DIY this suite at $3.37 per Invitation Set (Not including GlueGlider Pro)
Shop This Post
 1.) Start by choosing your invitation design. This can be something you design yourself, a template you purchase from somewhere, or you can take a look at our free wedding invitation templates. For this suite, we used our Art Deco design, which you can find here, and you’ll want your invitation card to have a final size of 4.5 x 6.5″ and your RSVP card of 3.5 x 5″.
2.) Print yourself at home using 8.5 x 11″ cardstock, or have your design printed at C&P through the “Print Your Own Design” section.
 3.) Flip your invitation card to the back side and apply tape around the edge of the card. Center it over your invitation mat before securely pressing it in place.
4.) Next flip your invitation mat to the backside and apply tape around the edge of the mat. Center it over your Vertico pocket before securely pressing it in place.
 5.) Then slide your RSVP card under the flap of your (pre-addressed) RSVP envelope and place it on top of your directions and accommodations cards and slide them neatly into your pocket.
6.) Carefully fold your pocket closed and slide your whole invitation suite into your mailing (A7) envelope, which should already be pre-addressed. Seal your envelope with Envelope Moistener with Adhesive for a secure seal.
Now you have a beautiful art deco invitation suite!
See how we DIYed below:
As always, you can really change the look of this invitation suite by picking different colors to fit your personal wedding style.
Let us know if you have any questions in the comments below.
Happy DIY-ing!
Save on Pinterest for later:


