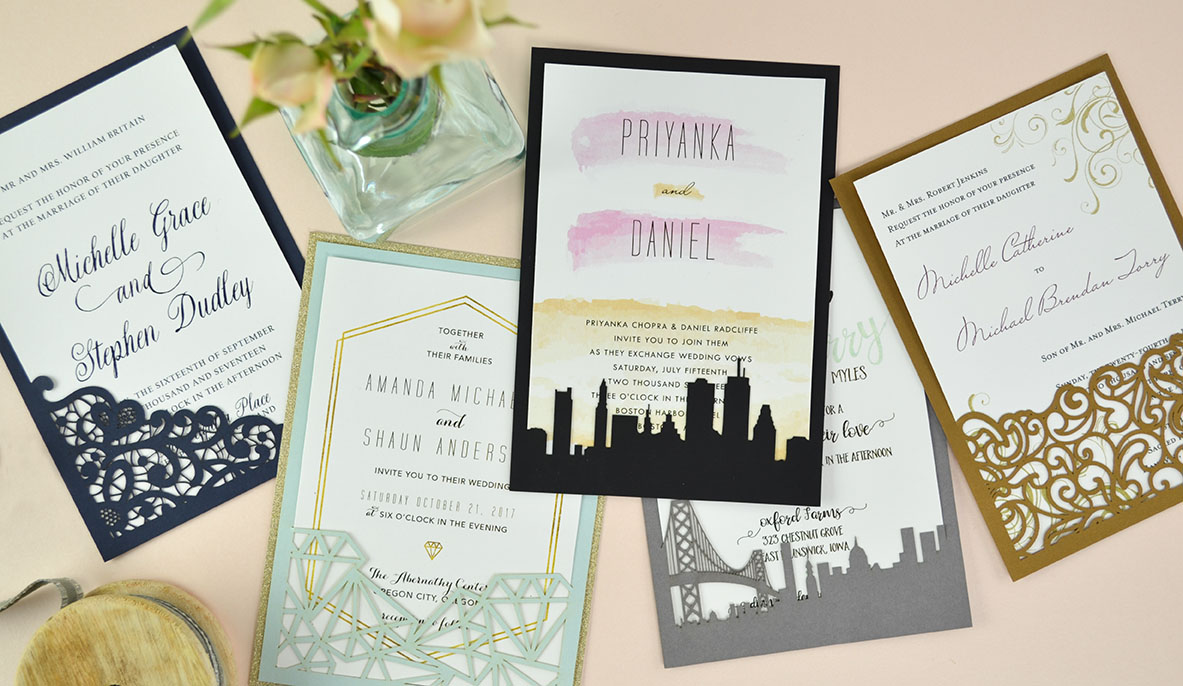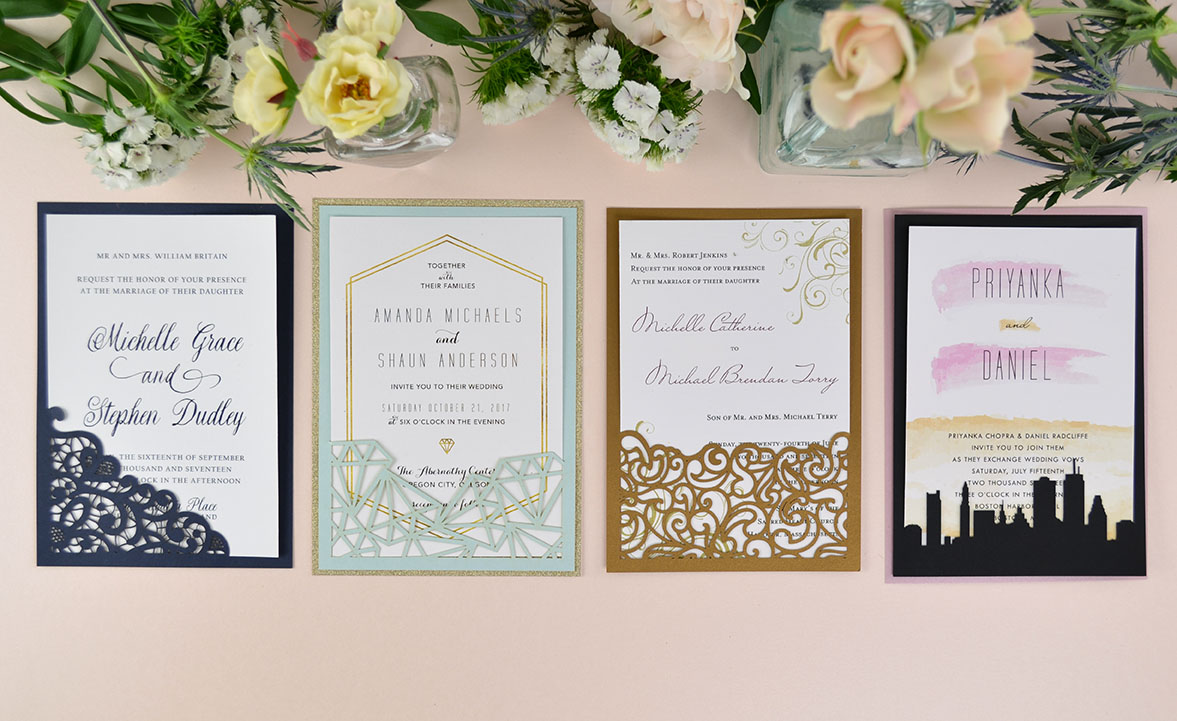
Laser cut wedding invitations are everywhere right now – you’ll see them on Pinterest, Instagram, and wedding blogs galore. But the designs you see and fall in love with may just be too expensive for your budget or not geared towards DIYers.
Laser slide-in cards are the perfect option if you’d like to add fancy laser cut details to your wedding invitations without breaking the bank. They can be used for any theme and color palette, and customized to fit the size of your suite. Here’s how you can easily DIY your wedding invitations with them!
PETITE SUITE
(Invitation + RSVP Card)
It’s becoming common to minimize the size of invitation suites to just an invitation and RSVP card, and direct guests to your wedding website for more details. This option makes your invitation less expensive to print, lighter to mail, and leaves a lot of room for embellishments. If your wedding invitation consists of just these two cards, there are a few different ways that you can use laser slide-in cards.
 (Pictured: “Brush Strokes” Free Wedding Invitation Template)
- Simply slide your invitation, RSVP card, and RSVP envelope behind the laser cut detailing in the corner or across the bottom of the slide-in card (depending on which design you choose). Unless your invitation is designed around the laser cut detailing, you will most likely have to leave your invitation card unmounted so that your guests can slide out the invitation and see all of the details. This is a great option for a larger 5×7 invitation.


- For a more finished, layered look, you can mount the slide-in card to a panel card or cut cardstock, depending on the size of your invitation and slide-in. Place your invitation in the slide-in card first so that you can easily see the edges of the slide-in card, which is the only place you want to put the glue or adhesive. (We recommend using Zip Dry Glue).


- If you want all attention on your invitation and pretty laser details, try using a panel pocket. Place your invitation card in the slide-in, center, and glue just the slide-in to the empty side of the panel pocket. Then tuck the RSVP card and envelope into the pocket on the back. This is the perfect way to keep your petite suite cute, compact, and organized for your guests.
 *Panel Pockets are compatible with a 4.75 x 6.75″ slide-in and a 4.25 x 6.25″ invite.
DETAIL ORIENTED
(Invitation Card + Multiple Inserts)
If you’re more traditional and want to provide your wedding guests with all of the important information in your invitations, you’ll probably need multiple inserts. It’s common to have an invitation card in addition to an RSVP card, Directions card, and Accommodations card, etc. You can still easily use a laser slide-in card with an invitation suite of this size.
 (Pictured: “Lace” Free Wedding Invitation Template Suite)
- Keep the invitation and slide-in card alone as your main base and simply stack all of your inserts on top. Keep the whole suite together with a bellyband, lace, or ribbon.

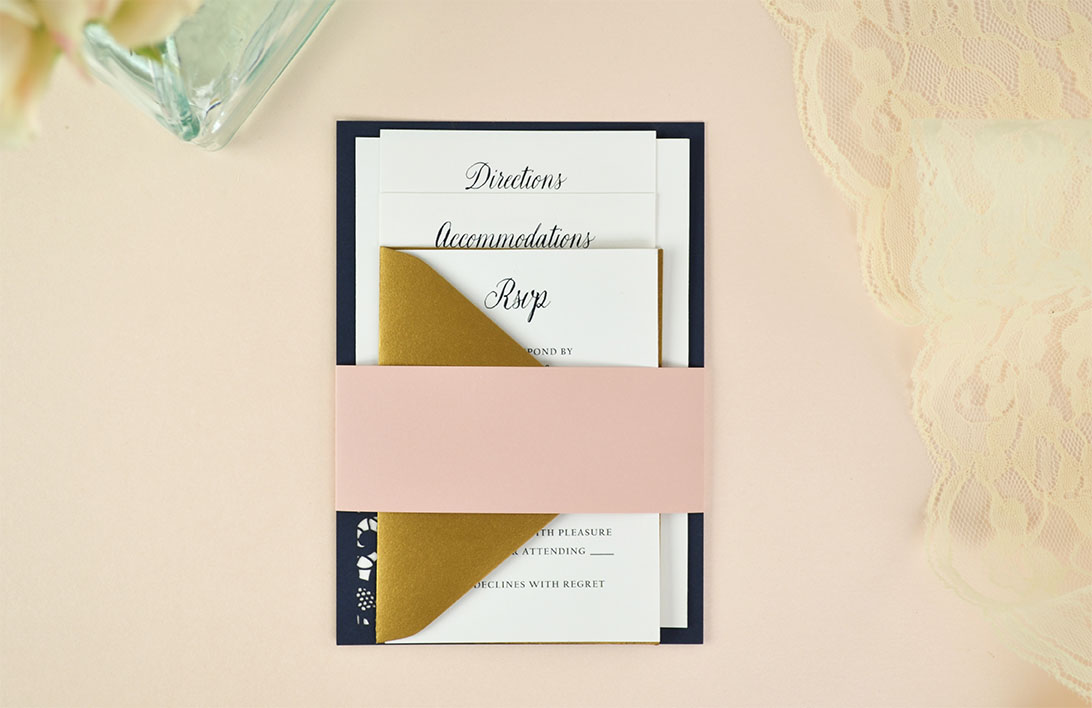
- Mount your slide-in card to a panel card or cut cardstock for a more refined look. If you you want your invitation to be front and center, you can also stack your inserts on the back of the invitation and fasten them together with a bellyband, lace, ribbon, etc.
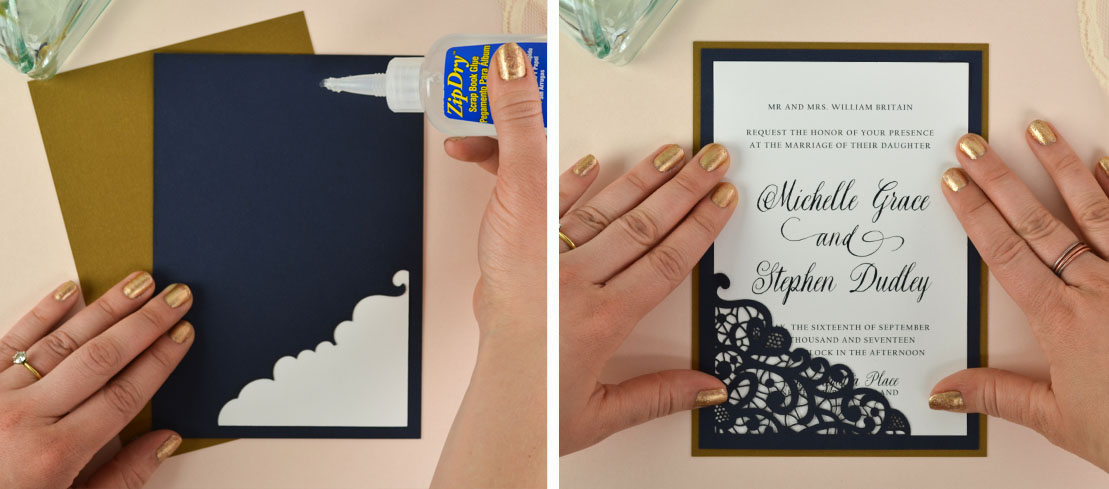
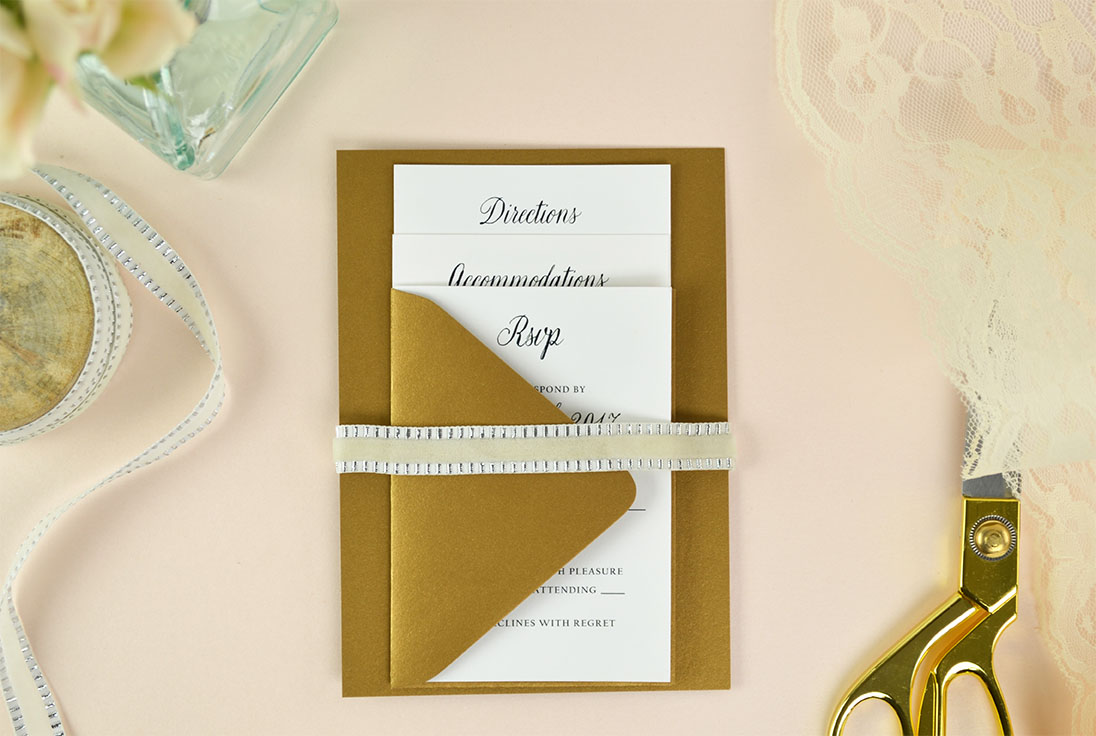
- Use a pocket for a stylish way to show off the laser cut details, while keeping your inserts nice and neat. Mount the slide-in to the center panel, and the pocket on the side provides plenty of room to stack and store your inserts. This is the perfect way to present a lot of information to your guests in a way that still looks pretty and organized.
 * A standard size pocket fits a 4.75 x 6.75″ slide-in card and 4.25 x 6.25″ invitation // A Signature Plus pocket will fit a 5.25 x 7.25″ slide-in and 4.75 x 6.75″ invitation
Find the materials and step-by-step instructions for this pocket invite here.
No matter your invitation suite size or style, laser slide-in cards make it completely possible to DIY easy and affordable laser cut wedding invitations. They come in three different sizes and over 80 colors, so these pretty cards are very versatile. Start dreaming up your invites and showing off those beautiful details. We can’t wait to see what you come up with!
Happy DIY-ing!
Save to Pinterest:


