

Congratulations, you’re engaged! ? After making the big decision of when and where you’ll be tying the knot, the next step is to send out Save the Dates to your wedding guests! You should let your guests know about your wedding 6-8 months in advance (or even earlier for destination weddings).
A save the date is typically a photo with the general wedding information printed on top…but with a few quick and budget friendly upgrades, you can easily turn simple photo save the dates into something a lot more elegant and memorable. Give it a try with this easy DIY save the date tutorial.
All you need for this DIY Save the Date is:
![]()
- Cardstock for Your Printed Photo
- Vellum Paper
- Paper Fasteners/Brads
- Paper Trimmer/Scissors
- Mailing Envelope

Shop Supplies:


For the bottom card, you can use a favorite photo of you and your fiancé, (whether from an engagement photo session or not), a photo of your wedding venue, a pattern, or design that tells something about the feel of your wedding.

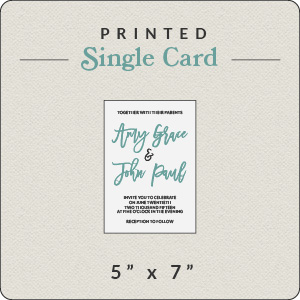
1.) Choose your card size (5×7 is a good size and fits in a standard A7 mailing envelope), and make sure your photo is set to print to that size.
2.) Then you’ll need to set up another document, also sized to 5×7, (or whatever size you’re using). Choose a font or two that you love, and add your basic wedding information including your names, wedding date, and city/town location. You can go super simple for this – no fancy design programs are necessary. If you don’t have a program like Photoshop or Illustrator, try using a free online design program like Canva.
3.) Print your photo backer on a thicker cardstock and your text overlay on vellum paper. (We can also do the printing for you).
*Depending on the size of your card, you can probably set up your file to print two cards on a page and save on paper.
4.) Trim your photo card and vellum overlay. This is easiest with a paper trimmer so that you don’t have to cut each one with scissors.
5.) Line up the vellum overlay on top of the photo card and make a hole through both layers using a needle or pin. Then attach with a brad/paper fastener.

That’s all there is to it! If you want to save time, we can print and trim the photo cards and/or vellum so that all you have to do is attach them with brads. Visit the Print Your Own Section here.
This DIY save the date doesn’t require much time or materials, but is a creative alternative to the norm that is sure to leave a lasting impression on your wedding guests. Let us know if you have any questions in the comments below.
Happy DIY-ing!
Save to Pinterest:
