

These DIY rustic wedding invitations are all about the details and the layers. A simple, modern invitation design is paired with a slide-in invitation card featuring laser cut pine trees. We brought in a natural, organic texture with an invitation mat and envelope liner made of real wood paper, and finished off the suite with envelopes in neutral, earth tones. This suite is perfect for a rustic wedding, whether it’s in the woods, mountains, at a camp, or in your own backyard.

![]()
- Pines Laser Cut Slide-in Card – (4.75 x 6.75″) in Racing Green – $.69
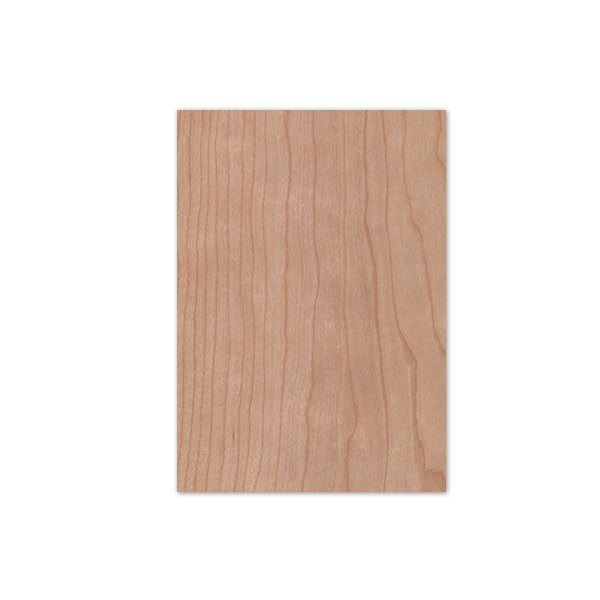
- Invitation Mat – (5.25 x 7.25″) in Cherrywood – $.69
- Printed Invitation Card – (4.25 x 6.25) on Snow White – $.45
- A+ Envelope (Euro Flap – 5.75 x 7.75″) in Racing Green – $.36
- Real Wood A+ Envelope Liner (5.75 x 7.75″) in Cherrywood – $1.04
- Printed RSVP Card – (3.5 x 5″) on Snow White – $.38
- RSVP Envelope (Euro Flap – 3 5/8 x 5 1/8″) in Mist – $.20
- Zip Dry Glue – $4.79
- Tape Dispenser – $12.35
DIY this suite at $3.81 per Invitation Set
Shop This Post


1.) Start by choosing your invitation design. This can be something you design yourself, a template you purchase from somewhere, or you can take a look at our free wedding invitation templates. For this suite, you’ll want your invitation card to have a final size of 4.25 x 6.25″ and your RSVP card of 3.5 x 5.”
2.) Print yourself at home on using 8.5 x 11″ cardstock, or have your design printed at C&P through the “Print Your Own Design” section.

3.) Flip your slide-in card to the back side. Use Zip Dry Glue to add a thin line of glue just around the outside edge of the card, being careful not to put the glue too close to any laser cut details
4.) Center on your wood paper invitation mat and secure in place.
5.) Slide the bottom of your invitation card behind the laser cut trees. Be careful and take your time, as the laser cut pieces are delicate! No need to secure this in place, as you’ll want your guests to be able to slide the card in and out to see all of the details.

6.) To assemble your envelope liners, slide the liner into the the mailing envelope so that it’s centered and in place. Fold your envelope so that the liner creases.
7.) Hold the liner down and open just the envelope, so that you can see the back of the envelope liner. Use a tape dispenser to apply a line of double sided tape on the edges of the envelope liner. Fold the liner back to meet the envelope, and secure in place.

8.) Slide your RSVP card under the flap of your (pre-addressed) RSVP envelope. You can now slide this under the laser cut slide-in card as well, or stack it neatly on the top or back of your main invitation.

9.) Carefully slide your whole invitation suite into your mailing (A+) envelope, which should already be pre-addressed. Seal your envelope with Envelope Moistener with Adhesive for a secure seal.
Change up the slide-in card and envelope colors to fit your wedding color palette, or use a different slide-in card design with the same assembly methods for a completely different theme. The result will always be a beautiful DIY laser cut wedding invitation that you can be proud of!


Let us know if you have any questions in the comments below.
Happy DIY-ing!
Save to Pinterest:
