 Photo by Babsie Ly
— Bianca’s Story —
![]()
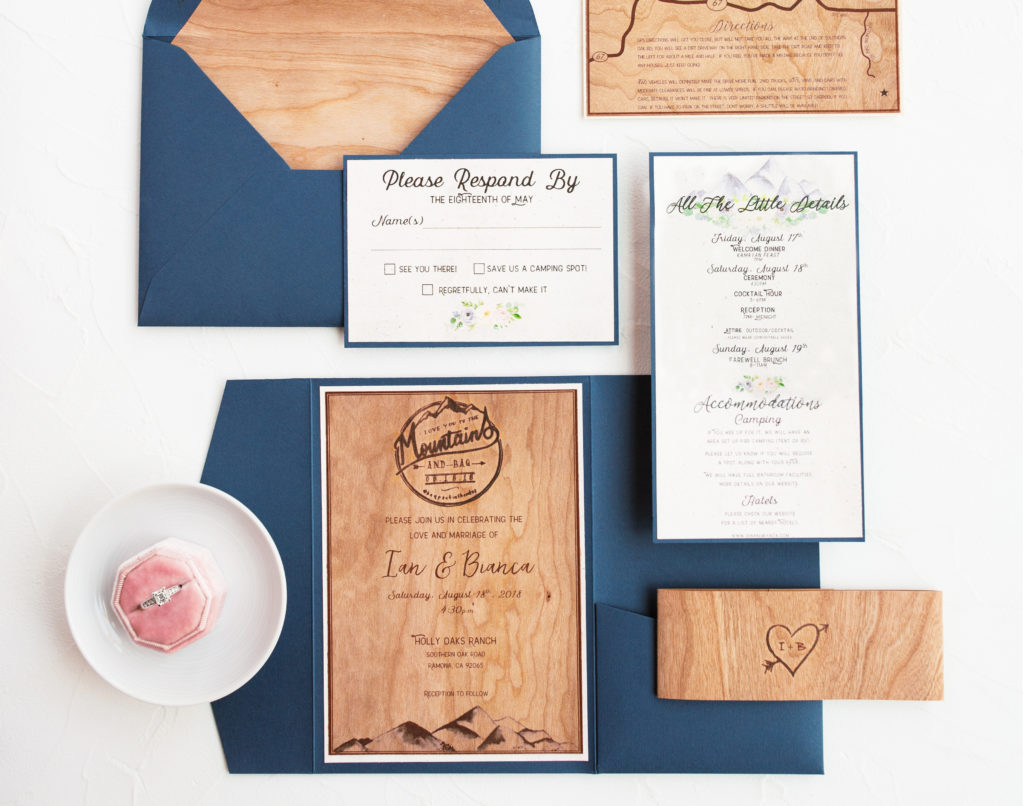
I chose the colors blush, dusty blue, gray, and hints of copper. My husband and I are huge outdoors people and our wedding was going to be on our private residence outdoors during the sunset. I chose those specific colors to resemble the sunset.

 Photos by Babsie Ly
I was looking for a color to really tie everything in together and that’s when I stumbled upon Cards and Pockets Cobalt Blue. The moment I saw it, I knew that was the color we were looking for. A color that would resemble the night sky that we’d dance away to for the rest of the night. We fell in love with the color so much that, believe it or not, we decided to match my husband’s custom suit to the invitation!
 Photo by: Babsie Ly
My husband helped me with everything! It was his idea to include the mountains since we’d be getting married on a mountain and he helped assemble the invitations by branding every single wooden paper with a hot iron.
![]()
Everything we used was from Cards and Pockets. The Cobalt Blue A7 signature pocket invitations, envelopes, RSVP cards, linen paper, and real wood paper in Cherrywood for our belly bands and invitation.
- A7 Signature Pockets in Cobalt
- 8.5 x 11″ Cardstock in Cream Linen
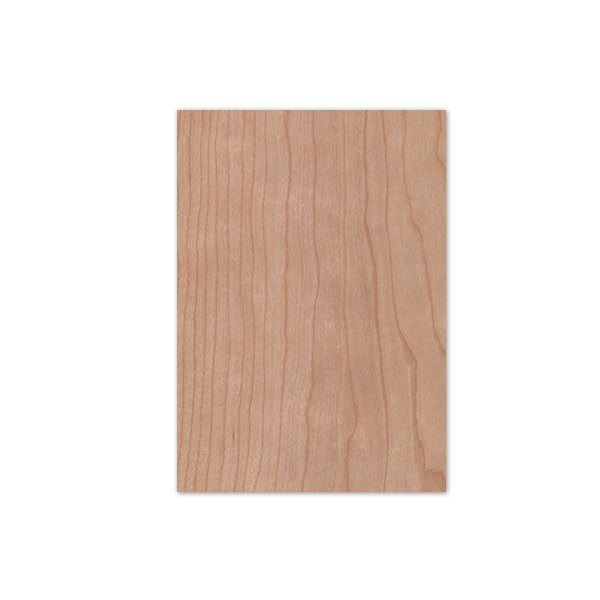
- Real Wood Invitation Mats (4.75 x 6.75″) in Cherry Wood
- A7 Euro Flap Envelopes in Cobalt
- A7 Euro Flap Envelope Liners in Cherry Wood
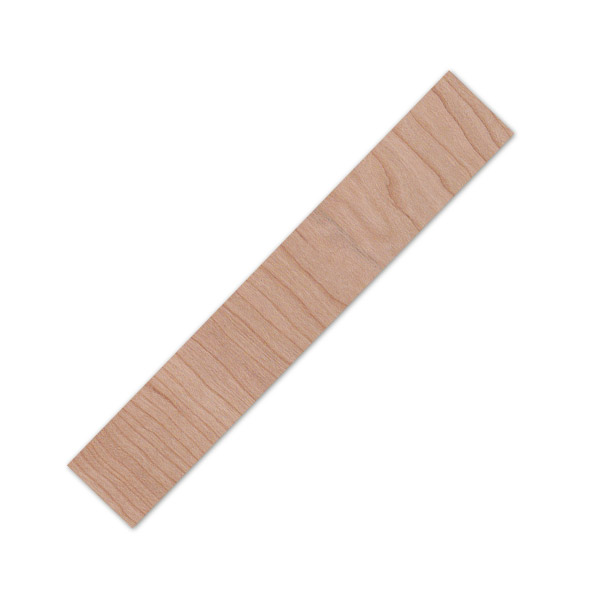
- Real Wood Belly Bands in Cherry Wood
 Photo by: Babsie Ly
![]()
- Zip Dry Glue
- Fiskar’s ProCision Rotary Bypass Trimmer (12″)
- Electronic Branding Tool & Custom Made Stamp
![]()
1.) Our initial step was to have everything printed. We printed everything on the cream linen cardstock and the real cherry wood paper.
2.) Then we cut everything down to fit the specifications of the A7 Signature Pocket. A linen mat was cut to 4.75″ X 6.75″ to border the invitation, which was cut down to 4.5″ x 6.5.” Our RSVP card was cut down to 3 1/2″ x 5″ to fit the RSVP envelopes.
3.) We also included two details cards–one with detailed information about the rehearsal dinner, wedding, and Sunday brunch, and the other with a map printed on wooden paper. The wooden map was cut to 3.75″ x 6,” while the details page was cut to 3.75″ x 6.75.”
4.) Our favorite part of the process was branding the wooden paper with our two custom made hot stamps! Actually, I left that job entirely to my husband. We hot stamped on the actual invitation page with a custom stamp designed by a dear friend of ours.
The stamp said “I love you to the Mountains and Baq”. Back was purposely spelled differently because our last name is Baquirin (Back-eer-in), so playing on the first syllable of our name was just perfect! Our 2nd stamp was a simple heart with our initials I + B in the middle. It was meant to look like it was carved into wood–just like the way that young people would solidify their love by carving their initials into a tree.
I HIGHLY recommend using Zip Dry Glue. I have made programs for friends before and always had trouble looking for an adhesive that was truly permanent and didn’t require too much time compressing until it dried. Zip Dry Glue, in my opinion, is the holy grail of adhesives for programs or invitations. I felt confident that the invitations and programs we created would not fall apart in the hands of our guests.
Also, breaking up the assembly process into small segments helped me manage the process better while keeping stress levels down. I worked on 10 invitations at a time everyday until all 80 were finished.
 Photo by: Babsie Ly


 Photos by: Babsie Ly
Congratulations, Bianca and Ian!
Thank you for sharing your DIY Story with us!
Save to Pinterest:
At Cards & Pockets, we love DIYers. We also know that one of the best ways to be inspired is to see and learn about other people’s experiences. We’re excited to share stories of our customers unique DIY invitation process.
Do you have a unique DIY story for your invitations? We would love to hear more about it. Simply visit our “My DIY Story” entry page and fill out the submission form and you could be selected for our next featured story!
Be an inspiration, share your story today!


